Free Website in Minutes
You can launch a website much like this one using web-based tools. It’s quick, easy, and completely free! This guide will show you how.
With steps 1 & 2 you’ll launch your new site. At this point your site will be live and provide a basic outline which you can then personalize.
With steps 3+ you’ll get familiar with a few editing tools and techniques to help you make your site unique.
Things you will need to get started:
- Basic computer skills
- A computer with access to the internet
- An email address
Some things to consider…
There will be a few different tools you use to access or edit your site. You may want to set up a dedicated email account to use exclusively for your website and it’s various tools, accounts, contact requests, invoices, etc.
Your site will be given a default web address or “domain name.” The given address probably won’t be simple or catchy so if you want a custom domain name you’ll have to purchase one. We’ll get into this more later.
Although your site will be fully functional it won’t be visually stunning or feature rich. These attributes have to be added. This doesn’t mean your site can’t have these features but you’ll have to add them yourself or have someone help you. This will also be discussed later in the guide.
All of the links on this page will open in a new browser tab. This is to make it easier to find your way back to the guide during the process.
Cool things your new site will feature:
- security - the tools used will automatically include security features with no additional action needed
- customization - you’ll be able to easily make changes with a minimal learning curve to include images, text, links, analytics for SEO, visitor commentary, and more
- potentially beautiful and feature rich - the outline provided is open for a more in-depth level of development
- ability to include a professional’s touch - easily and securely invite experts to collaborate in your design
- beginner friendly - peek behind the curtain to see what makes a website tick. You have the option to start learning basic code at your own pace
- integration with Web3 - Your new site will have one foot in the future with the use of DAPPS on the Internet Computer blockchain. Sound complicated? Worry not. You don’t have to be an expert to use it.
OK let’s jump in!
The following steps are designed to get your site up and running as quickly as possible. Afterward the guide will go into more detail about features and editing.
1. Git yourself a GitHub account and repository…
GitHub is where you’ll store your site’s files so they can be hosted to the internet. This store of web-accessible files is called a “repository.” Head over to: GitHub.com and start the Sign Up process by clicking the button in the upper right corner of the page. You’ll need to provide an email address. You’ll be asked “How many team members will be working with you?” Chances are you’ll want to choose “just me.” You can ignore the section about whether you are a student or a teacher if it doesn’t apply to you and click continue. Next you’ll be asked “What specific features are you interested in using?” Just scroll to the bottom and tick the box for “Community” and then click continue. Now you should see “Where teams collaborate and ship.” Scroll to the bottom of the page and choose “Continue for free.” Finally you need to confirm your email before you’re automatically signed in.
I’ve already set up a template repository containing everything required to get started. You just need to copy it from my GitHub page to your account. Click here to access my template.
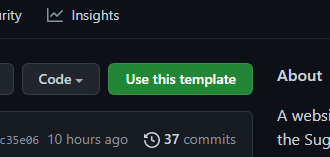
Next click on the “Use this template” button.
Now fill in the information fields pertaining to your new repository. You can name it anything you like (e.g. “my repo” or “mysite”). Make sure to choose the Public option (not private). Don’t worry about security when making your repository public because it won’t contain anything that’s not already available on your website. You can leave “Include all branches” unchecked. It should look something like this:
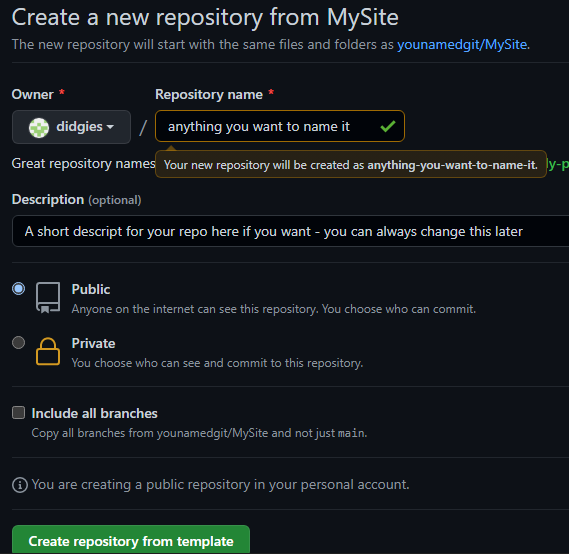
Finally click on “Create repository from template.” You’re repository is done (for now).
2. Host and Deploy your site with Fleek…
I love Fleek. There’s so much I could say about this service but, for now, lets just get your site launched.
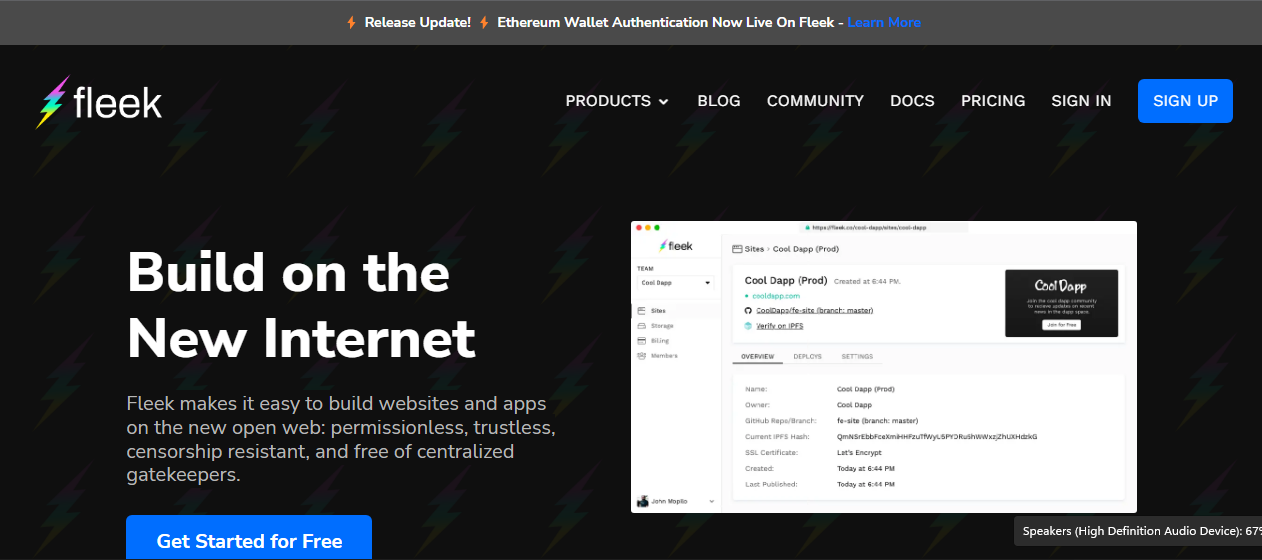
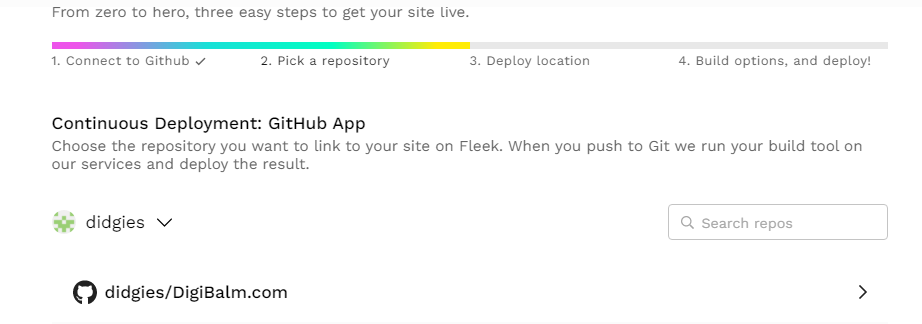
Head over to Fleek.co and start the sign up process. When presented with sign-up options choose the email method. You’ll have to verify your email. Once you’re signed in click on “Add new site” then click “Connect with Github.” You’ll need to confirm the connection with your GitHub account by clicking the green “Install and Authorize” button. You should now see your GitHub user name next to a colored icon and underneath it will be your new repository with a black and white GitHub icon. Click on your repository that’s listed below your GitHub username.
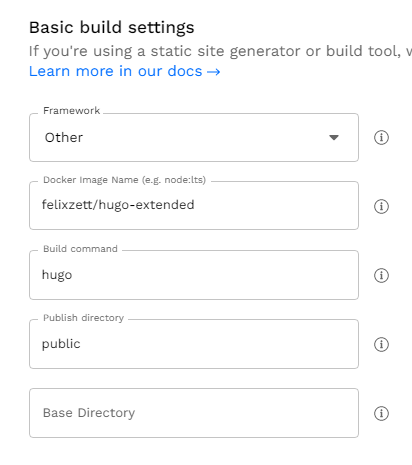
This next part is crucial and you’ll want to make sure everything is entered exactly as explained below. Under “Continuous Deployment: Hosting Platform” you should see a text field with the name “Hosting Services.” Make sure IPFS is selected and click “Continue.” On the next page you should see “Deploy settings for…” and you can skip to the section below this which is named “Basic build settings.” Click on the first text field that’s labeled “Framework” and select “Hugo” from the dropdown menu. In the second text field labeled “Docker Image Name” you’ll need to replace what’s there with a different parameter. Type or copy and paste the following into the Docker Image Name field:
felixzett/hugo-extended
It should look like this when you’re done:
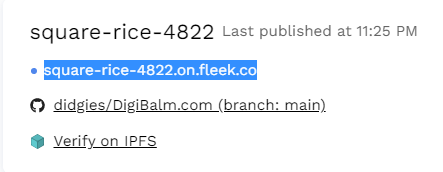
These are the parameters that tell Fleek how to build your site using the files from your repository. I’ll talk more about Hugo later. Finally click on “Deploy site.” It will take a minute or two for the site to deploy. While waiting take a look at the Fleek hosting page. At the top you’ll see something like “Hosting > square-rice-4822.” This weird name is your web address a.k.a. domain. After the site deploy is finished you should see your full domain name towards the top of the page. For example, mine is square-rice-4822.on.fleek.co. I’ve highlighted it in the following image. You should see yours in a similar way.
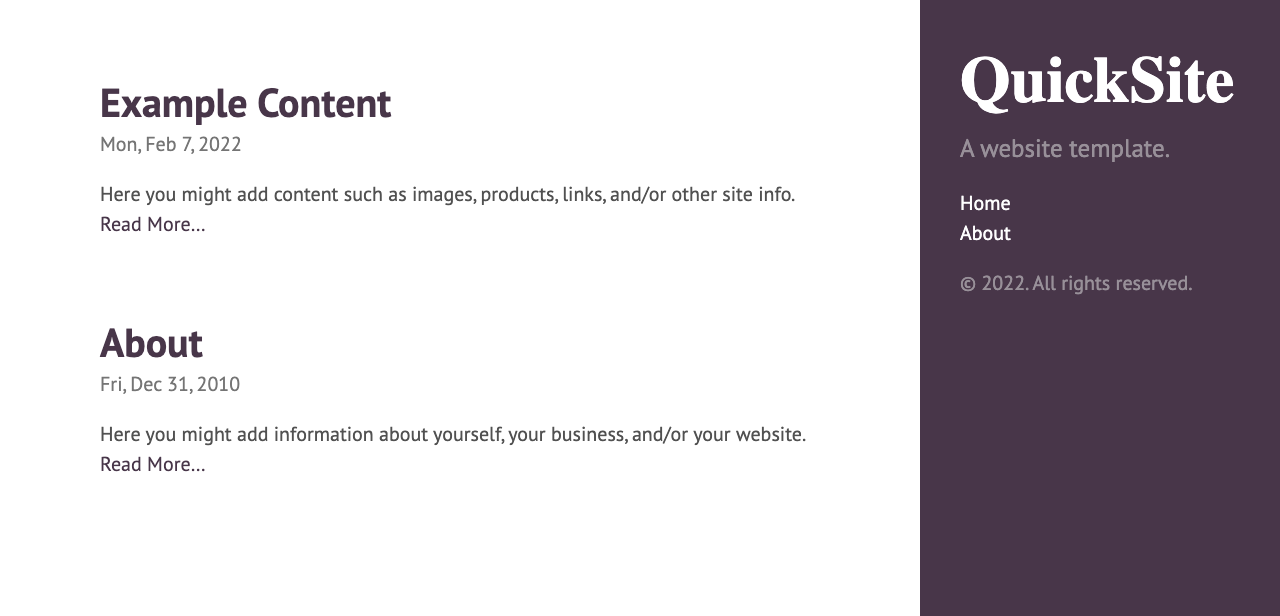
If you click on your domain name your website will open in a new browser tab. Congratulations! Your website is now live!
3. What is Hugo???
As stated earlier steps one and two were designed to get your new site up and running quickly. I wanted to show how easy it could be to launch a site. However, you probably don’t want to use the name “QuickSite” and you’ll most likely want to add your own content. There are many methods available to build and edit websites and we’ll get more into that soon. First you should know a little more about the inner workings of your new site. The template repository (a.k.a. repo) that you copied earlier was built using Hugo. There are so many different frameworks and languages used to build websites that it can get downright confusing - even for experts who are familiar with the technical jargon. That’s one reason Hugo is great because it simplifies things for beginners and experts alike. Here’s some other benefits of Hugo:
It’s Fast - Not only is it fast to build a site with Hugo but webpages made with Hugo load very quickly in a browser. In fact, Hugo claims to be the “world’s fastest framework.”
Flexible - Hugo is sometimes promoted as a framework for blogs and it’s great for blogs but can certainly do much more. Portfolios, corporate websites, and e-commerce are just a few of the things that can be accomplished with Hugo.
Robust - Popular coding languages such as JavaScript are supported but not required. Hugo sites can include buttons, videos, animations, and other embedded features that can add a sense of richness to any website.
So, simply put, Hugo is a framework used for building websites. It simplifies the process in a way that’s great for beginners. There’s a lot of great online resources available for using Hugo and I will link you to one or two later.
4. Some Personalizing…
Let’s get into some customization. One way you can edit your site is directly through your repo on GitHub. To get you started let’s change your website’s name. Open up your GitHub account in a new tab and (if you’re signed in) you’ll see a colored icon in the upper right corner of the page. Click on it and select “Your repositories” from the dropdown menu. Next select your repository by clicking on your repo’s name. You should now see a list of folders and files. One of the most important files for editing your site is the “config.toml” file. This is the file Hugo uses to set basic parameters for your website. Go ahead and click on the config.toml file to open it. Now you should see a list of parameters within the file. Notice the parameter that reads:
title = "QuickSite"
This is the current title of your site. To edit the file you’ll need to click on the little pencil icon. It’s in the upper right tool bar and looks like the one in this image:

Now you can change “QuickSite” by typing in whatever name you want to give your website. The quotation marks surrounding the title are necessary so be sure to include them. Once you’ve made the changes scroll to the bottom of the page and click the green “Commit changes” button.
It’s important to note that any time your GitHub repo is edited the Fleek hosting service will immediately apply the changes to your live website. Most of the time you’ll probably want to edit your site without publishing your changes right away. There’s a couple of other editing tools that accomplish this.
5. Forestry
Forestry is a great web-based tool for editing websites. It’s beginner friendly and free. Forestry isn’t my personal favorite tool to edit my site but I still use it occasionally because it offers some unique features and it’s super easy to use. Be sure to follow this part of the guide closely to get signed up for an account. Head to Forestry.io and click on the sign up button in the upper right corner. Now underneath the big green “Sign Up” button you’ll find a GitHub button.
Fun fact: The Github logo is an octopus with the head of a cat named “Octocat”
Click on Octocat.
You should get a popup like the following image. If you’re not signed into Github yet you’ll get a popup to to that first, then this one:
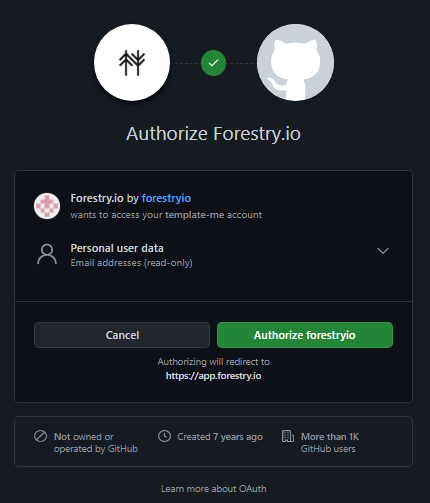
Click on the green button to authorize access to your repo from forestry.
To be continued…